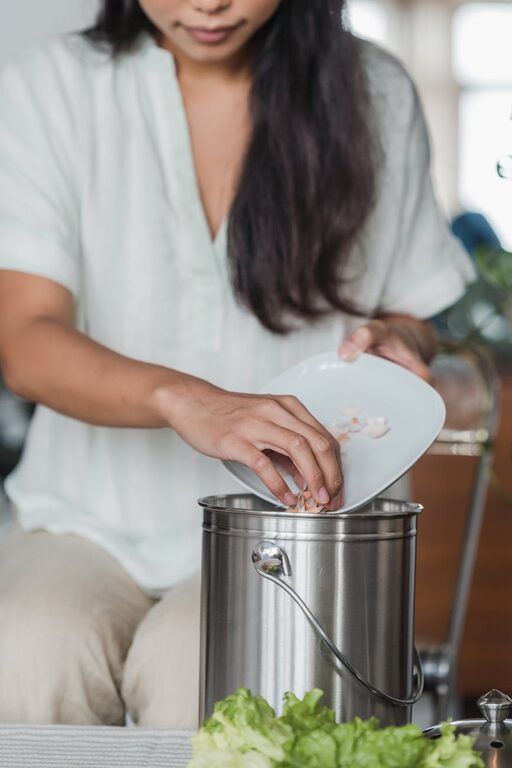
Composting at home is a rewarding and eco-friendly practice that transforms kitchen scraps and yard waste into nutrient-rich soil. Whether you have a backyard or a small balcony, composting can help reduce waste, enrich your garden, and promote sustainability. If you’re just starting out, this guide will provide beginner tips to make composting simple, efficient, and enjoyable.
What is composting and why start?
Composting is the natural process of breaking down organic material like food scraps, leaves, and grass into humus—a dark, nutrient-dense soil amendment. This process is carried out by microorganisms such as bacteria, fungi, and earthworms.
Benefits of composting at home:
– Reduces landfill waste and methane emissions
– Enriches garden soil with essential nutrients
– Improves soil structure and water retention
– Saves money by reducing the need for chemical fertilizers
– Helps plants grow healthier and stronger
Choosing a composting method
Before you begin, consider the space you have and the time you want to invest.
Common home composting options:
– Compost bin: Closed container ideal for smaller spaces; keeps pests away.
– Compost pile: Open heap suitable for larger gardens; requires more maintenance.
– Tumbler: Rotating container that speeds up the process; good for faster composting.
– Vermicomposting: Uses red worms; perfect for indoor composting or small volumes.
Select a method that fits your lifestyle and available space.
What can and cannot be composted?
Knowing what materials are suitable for composting is crucial for successful decomposition.
Compostable materials:
| Browns (carbon-rich) | Greens (nitrogen-rich) |
|—————————|——————————–|
| Dry leaves | Fruit & vegetable scraps |
| Straw or hay | Coffee grounds & tea bags |
| Shredded paper or cardboard| Fresh grass clippings |
| Sawdust (from untreated wood)| Plant trimmings & flowers |
Avoid composting:
– Meat, fish, and dairy products (attract pests)
– Oils and fats
– Pet waste (can contain harmful bacteria)
– Diseased plants and weeds gone to seed
– Non-biodegradable materials like plastic or glass
Setting up your compost pile or bin
Step 1: Choose a suitable location
Place your compost system in a well-drained, semi-shaded spot for balanced moisture and temperature.
Step 2: Layer materials
Start with a layer of coarse materials like twigs or straw to promote aeration. Alternate layers of browns and greens:
– Add a 4- to 6-inch layer of brown materials.
– Add a 3- to 4-inch layer of green materials.
– Repeat layering until the bin or pile is full.
Step 3: Maintain moisture
Your compost pile should be as damp as a wrung-out sponge. Water occasionally if it becomes dry, or add dry browns if it gets too wet.
Tips for speeding up composting
Turn your compost regularly
Aerating the pile by turning it every 1–2 weeks helps microbes work faster and prevents odors.
Chop and shred materials
Smaller pieces decompose quicker. Use kitchen scissors, garden clippers, or a shredder for leaves and cardboard.
Monitor the temperature
A hot compost pile (around 55-65°C) breaks down waste faster and kills pathogens. You can measure temperature with a compost thermometer.
Troubleshooting common compost problems
– Bad smell: Usually caused by too much moisture or greens. Add dry browns and turn the pile.
– Pile isn’t heating up: Add more green materials and turn to increase aeration.
– Pile dries out: Add water and cover the pile.
– Pests: Use a closed bin or cover food scraps with browns to deter them.
Harvesting your finished compost
After a few months, your compost will be dark, crumbly, and earthy-smelling. Spread it around plants, mix it into garden beds, or use it as potting soil.
Final thoughts
Starting composting at home is easier than it seems. By following these beginner tips, you’ll reduce waste, improve your garden’s health, and contribute to a greener planet. Remember to be patient; composting is a process that rewards consistent care and attention.
Happy composting!


